Monthly Archives: February 2016

Exercise: Tolerance for noise (DPP)

For this exercise I have to take a series of identical photographs indoors in daylight of a scene that included some sharp detail and a textureless area like a white wall with some of the textureless area in shadow.

I had to set the camera on a tripod, use aperture priority setting to keep the depth of field consistent and take a series of images covering the whole range of ISO settings on my camera.

My Nikon D5500 ISO range is as follows:

100, 125, 160, 200, 250, 320, 400, 500, 640, 800, 1000, 1250, 1600, 2000, 2500, 3200, 4000, 5000, 6400, 8000, 10000, 12800, 16000, 20000 and 25600.

I’ve chosen to upload several pictures throughout the sequence, rather than the whole sequence.
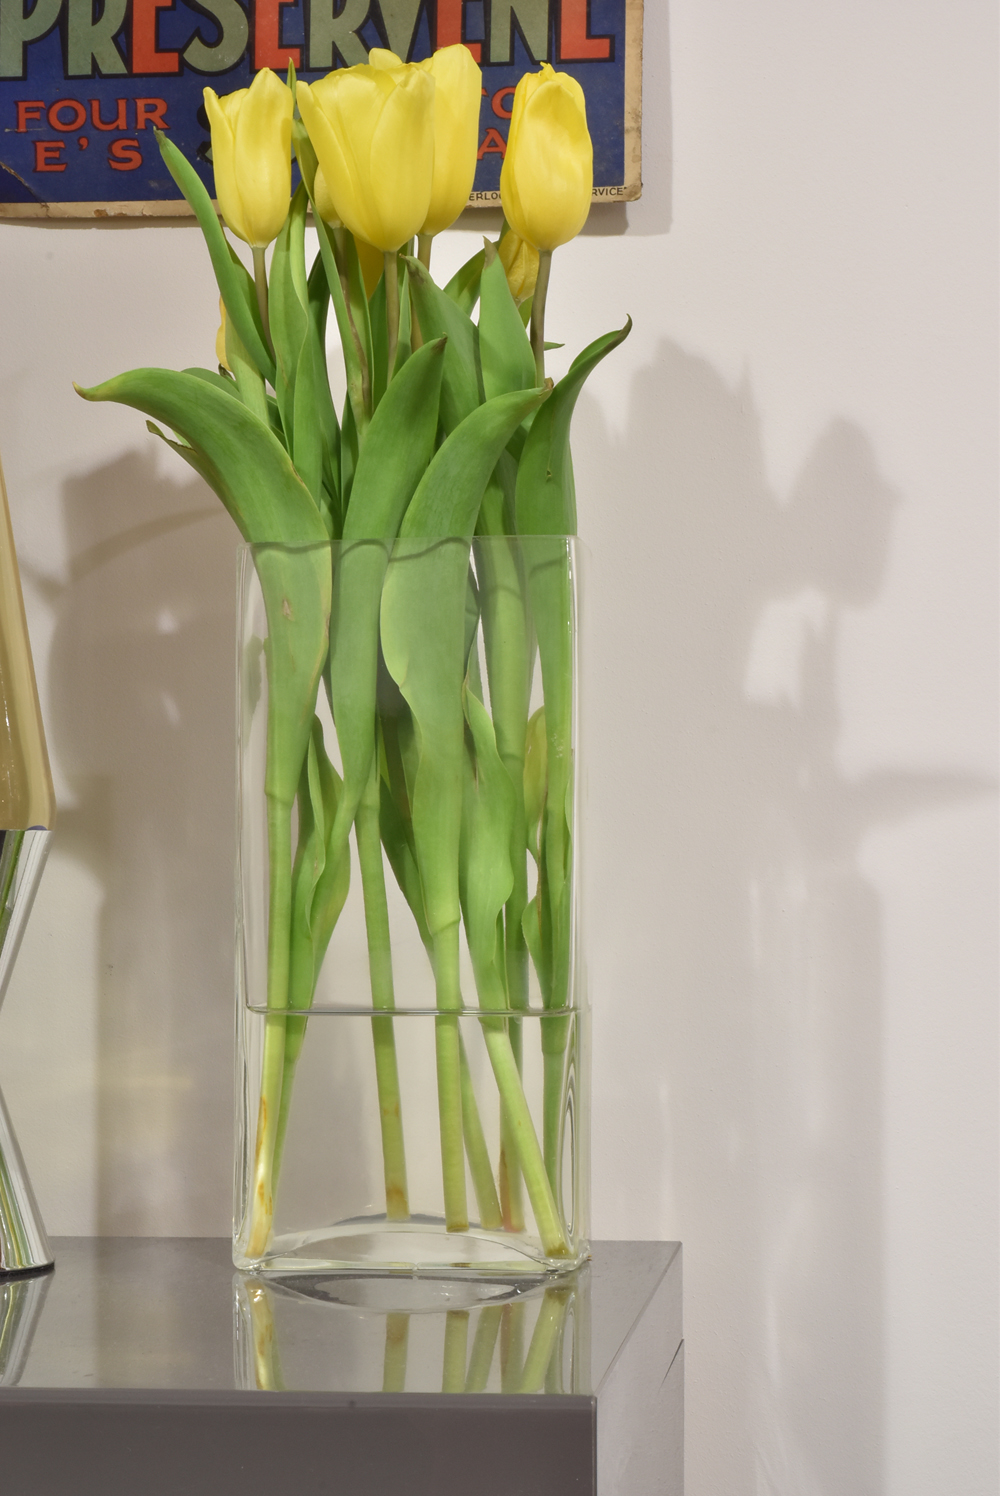
100:

ISO 100

At the lowest ISO there is no noise whatsoever.

500:

ISO 500

At 500 the noise levels are still hardly present at all.

2000:

ISO 2000

At 2000 the noise is starting to become evident.

8000:

ISO 8000

At 8000 the noise is now extremely noticeable, especially in the shadowed area to the left of the vase.

16000:

ISO 16000

At 16000 the image is covered with noise, making it appear to be of a much lower quality.

25600:

ISO 25600

Finally at 25600 it’s totally speckled with noise, really reducing the overall quality. I would not want to submit a picture with this much noise.

Conclusion:

I’ve always been aware of the results of using a high ISO but this exercise really did enforce the importance of using the lowest possible, and the unwanted effects of using a high ISO. For this exercise I think anything over ISO 800 starts to show an unattractive amount of noise.

Exercise: Sensor Linear Capture (DPP)

Objective: To simulate a linear image by applying curves, replicating an image before in-camera processing.

A linear image represents an image before the camera has applied it’s in camera processing. Almost all digital cameras apply some processing. Film however, does not. The linear image appears much darker. A camera sensor’s response is called ‘linear’. The more light that falls on the sensor the stronger the response but at exactly the same rate from dark to very bright.  This is different to how our eyes respond and how film responds.  Our eyes cope with a wide range of brightness by compressing the light so that really bright seems less than it is.  Film responds in a similar way but to a lesser extent.

Gamma correction is performed in the camera to produce the kind of image we expect to see.  If this processing didn’t happen the image would look very dark and the histogram would show most of the tonal values to the left side.  A typical gamma correction curve makes an image brighter.

Original image:

Original

Original image, converted to 16 bits per channel, curve applied:

Linear Image

As you can see, applying the curve has resulted in a much darker image.

Original histogram:

Screen Shot 2016-02-21 at 17.36.16

As you can see from the above histogram – the levels are roughly based in the middle.

Linear histogram:

Screen Shot 2016-02-21 at 17.36.29

The liner’s histogram is grouped to the far left, something that we expect to see with a darkened image.

Liner image with curve applied (to re-create original image):

Linear Image 2

Noise comparison:

Screen Shot 2016-02-21 at 18.19.45

There is some noise already, but if you compare it to the below image (linear image with curve applied) you can see that the noise distortion is slightly greater in the corrected image.

Screen Shot 2016-02-21 at 18.19.54

Conclusion:

This exercise has shown me that lightening an image to simulate in-camera processing exaggerates the noise levels, especially the noise in the shadowed areas. It has high lightened the importance of making sure my exposure is correct through camera settings rather than relying heavily on post processing software.